Follow our fantastic recipes @alowcarblowsugarlifestyle #ketohh

Create a baked cheesecake in just minutes with portion control as it makes 2 serves. One for you and another for you, or a friend, if you feel like sharing.
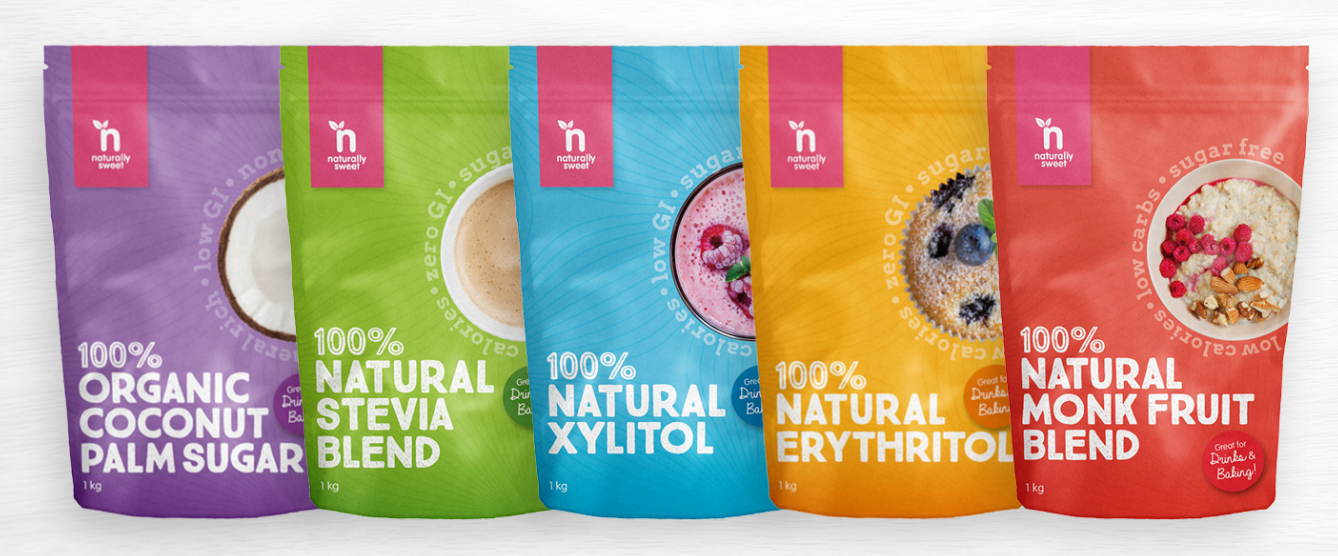
Use your favourite sweetener from our range, as they all work wonderfully in this recipe. A baked cheesecake normally takes hours to make but this recipe can be whipped up in literally minutes. Your only problem is going to be patience, as it needs to cool in the fridge before eating.
This Keto Mug Microwave Cheesecake is a fabulous low carb treat with a creamy texture and hints of vanilla and lemon flavors (if you choose to add the lemon juice.) The cheesecake comes out of the microwave slightly puffy but once it has been refrigerated the texture becomes more like a traditional baked cheesecake. While this recipe doesn’t have the exact same flavors and textures of a traditional cheesecake, it does make a wonderful substitute dessert. For a recipe that takes just minutes to prepare, you are going to be over the moon with the end result.
Make sure you refrigerate your Keto Mug Cheesecake before eating. It also benefits from sitting at room temperature for a short while after removing from the fridge. It will soften slightly but still have that wonderfully dense, cheesecake texture that you expect of a baked cheesecake.
What Sweeteners Can You Use In This Recipe?
I don’t like to over sweeten my recipes so please make sure you taste the filling before pouring it onto you base so that you can add additional sweetener if desired. Generally I like to using a sweetener that is equal to about 2 tablespoons of sugar. You can use erythritol, xylitol, stevia, monkfruit or traditional sugar/coconut sugar if you aren’t concerned about your carb intake.
Does this Recipe Taste Eggy?
Originally I tried to make one cheesecake using the egg and cream cheese but I found that the taste was too eggy for my liking. By increasing the volume of the ingredients and only using one egg, I found the texture and the flavor improved a lot. You also end up with two serves of Keto Microwave Mug Cheesecake which is a bonus. One for you and one for a friend- or two for you if you don’t feel like sharing.
How to Serve Keto Mug Microwave Cheesecake
Serve your cheesecakes in the mug/ramekin you cooked it in and top it simply with a dollop of cream. If I have any fresh or frozen berries, or a sugar free jam on hand, try adding them for a lovely berry cheesecake. I generally eat mine straight from the bowl but occasionally tip them out and serve them so you can see the crumb layer on the bottom. The point of this recipe is that it’s a quick and easy recipe so I generally don’t get too fancy and enjoy it straight from the bowl with a dollop of freshly whipped cream and a few berries if I have some on hand.

Prep Time:5 minutes
Cook Time:4 minutes
Ingredients
CHEESECAKE FILLING
- 125 grams cream cheese at room temperature
- 50 grams sour cream, marscapone or Greek Yoghurt
- 2 tablespoons erythritol
- 1 egg
- A dash of vanilla extract
- 1 teaspoon of lemon juice optional
CHEESECAKE CRUMB
- 3 tablespoons almond meal or pecan meal
- ½ teaspoon erythitol /alternative sweetener-or to taste
- a pinch of cinnamon powder- optional
- a pinch of salt
- ¾ tablespoon melted butter
Instructions
-
Generously grease the inside sides and bottom of 2 microwave safe mugs/ramekins. If you want to tip your cheesecakes out place a piece of baking paper on the bottom of your greased cup/ramekin, cut to fit the base. Grease the baking paper as well to ensure your cheesecakes will release more easily.
-
Gently combine the dry ingredients with the melted butter for the cheesecake bases. Don't over mix, keeping the mixture light in texture. Distribute the crumb mixture evenly between the two mugs/ramekins and press gently into the base. Note that if you press too firmly you may have trouble tipping your cheesecake out.
-
Add your cream cheese to a medium microwave proof bowl. Cover with paper towel and zap for about 15-20 seconds or until soft. Using a hand whisk, whisk until smooth and creamy, Whisk in the sour cream (or Greek yogurt) egg, lemon juice, sweetener and vanilla extract until really smooth. Distribute the cheesecake filling between the two mugs/ramekins and smooth out the tops.
-
Place mugs/ramekins spaced apart into a shallow microwave tray (glass/pyrex is great) and fill with boiling water about ⅔ of the way up the mug/ramekin. Cover the top of your mugs/ramekins with paper towel to preventing splatting.
-
Microwave on 850 watts (medium to high) for about 3½-4 minutes or until cooked through, rotating half way through. The edges of your cheese cake will be cooked but the centre may still be slightly soft. If the centre is too jiggly, cook again in short zaps until the centre has set. Remember that your cheesecakes will continue cooking on the bench so take care not to overcook. See notes for microwave oven tips.
-
Allow to cool at room temperature then place your cheesecakes covered with cling wrap in the fridge to cool and set for at least 1 hour prior to eating. This is vital to get the right creamy texture.
Recipe Notes


