Follow our fantastic recipes @alowcarblowsugarlifestyle #ketohh

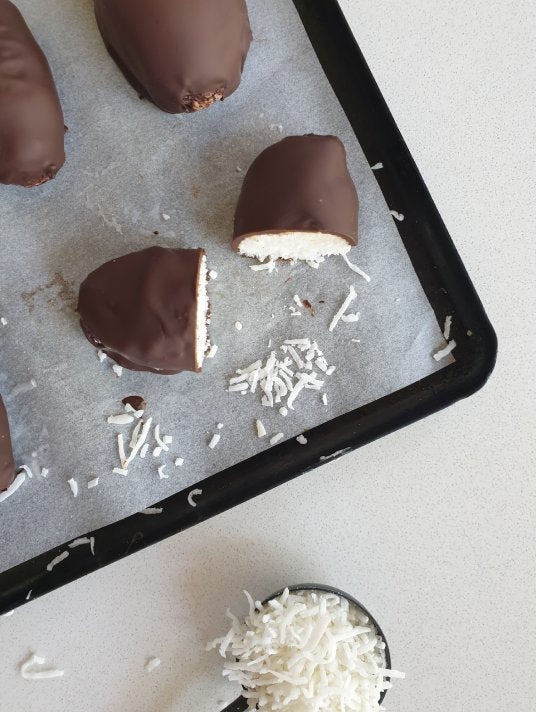
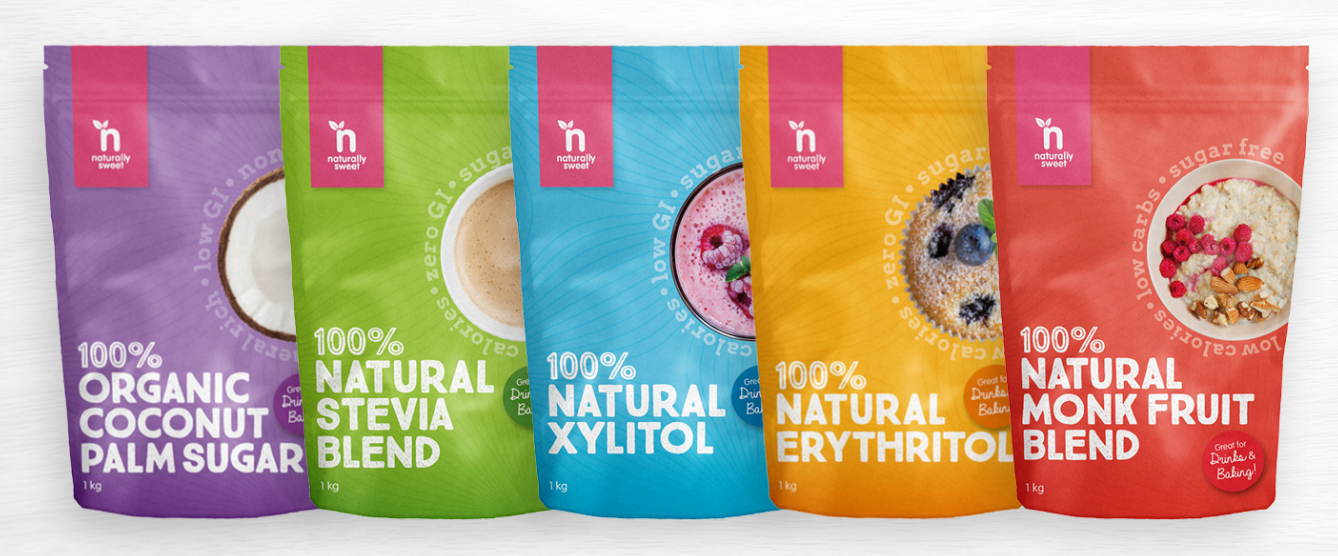
I love the fact that you still get to enjoy delicious treats like these bounty bars but without the sugar when you make your own homemade version. You can use your favourite Naturally Sweet sweetener in this recipe, as they are all suitable and adjust the sweetness level to suit your taste.
This recipe is perfect for anyone following a low carb, sugar free or keto lifestyle. These delicious bars are gluten free, nut free and perfect for paleo as well. By switching the chocolate coating to a vegan chocolate, these bars are also vegan friendly.

A REAL BOUNTY TASTE
Flavor-wise, these bars taste just like a Bounty bar should. The great thing about this recipe is that you can tweak it to make it work with your lifestyle. You can also vary the chocolate coating that you use to create either milk or dark chocolate bounty bars. Switch up the sweetener to suit your tastes or feel free to omit the sweetener all together.
SUGAR FREE DARK CHOCOLATE
Use your favorite low carb chocolate/chocolate chips for this recipe or use vegan chocolate. Remember that the lower the couverture (ie 60%, 70% dark chocolate) the higher in sugar your chocolate is. Higher couverture dark chocolate such as 80%-90%, are great low carb keto choices as they have minimal sugar in them. If you use a milkier chocolate it will be higher in sugar. Please also check that the chocolate you plan to use can be melted.

COCONUT CREAM
If at all possible, try to refrigerate a can of sugar free coconut cream overnight in the fridge up the right way. The next day the thick coconut cream should sit on top and the clearer coconut water/milk below. Scoop the thick cream out to use in the recipe. For some reason I have not been able to achieve this with a couple of brands. If you can't get the cream on the top, shake the coconut cream well and still use it in the recipe. Please also double check that your coconut cream is free from sugar.
TIPS FOR MAKING HOMEMADE KETO BOUNTY BARS
Shape your coconut bars with your hands or alternatively place the mixture into a tray lined with baking paper. I've used a large loaf pan as well as a 10″ x 7″ pan. Ensure you compress the mixture firmly into the pan with a spatula to prevent your bars from fraying at the edges when you cut it up later. Freeze for 30 minutes before cutting with a sharp knife. If the mixture hasn't been compressed enough when using both methods, your bars won't hold together when you try to dip them in chocolate.
I personally find hand shaping is the best way to make your bars as you can compress them and get the right shape. Cutting your bars into shape can create a few crumbs with the mixture which doesn't tend to happen with hand shaping. Using the cutting method does work and can make the process a lot quicker so I will leave it up to you which method you prefer. I use both methods depending on time, how perfect I want them to look etc.
Store your homemade keto bounty bars in the fridge to ensure they maintain their shape. The best way to enjoy them though is at room temperature, as the coconut filling softens. Freeze your keto bounty bars for up to 6 months.

Prep Time:10 minutes
Setting Time:30 minutes
Ingredients
- 100 grams coconut oil
- 75 grams coconut cream scooped from a cold can of coconut cream refrigerated overnight
- 200 grams desiccated coconut sugar free
- 1 teaspoon vanilla extract
- 1-2 tablespoons stevia blend /to taste/or your favorite sugar free sweetener
- 200 grams dark chocolate I love to use Lindt 85%
Instructions
-
Melt the coconut oil on the stove top or in the microwave and allow to cool slightly.
-
Add the coconut cream and vanilla extract and whisk till well combined. If coconut oil hardens, reheat slightly to melt.
-
Fold the desiccated coconut and the sweetener into the coconut oil mixture until well combined. Allow mixture to cool slightly.
-
Shape into about 20 bounty bars, compressing really well so they keep their shape when dipping in chocolate. Place on a piece of quality baking paper and freeze for about 30 minutes to allow them to firm them. Alternatively, pour the mixture into approximately 10" x 7" pan lined with baking paper. Press the mixture really well into the pan to compress the it so it doesn't fall apart when you cut it up later after it has been frozen. The mixture makes about 20 bars but that is dependent on how large you want your bars.
-
Just before removing your bars from the freezer, zap or melt your chocolate bars on the stove top or in the microwave taking care not to burn your chocolate. Ensure your chocolate is smooth and lump free and allow to cool to room temperature.
-
Using a fork or a spatula, gently place each bar in the chocolate and roll around to ensure it is fully covered with chocolate. Allow the excess to drip off before placing each bar back on the baking paper to set.
-
Store your bars in the fridge so they keep their shape, especially if you are in a warm climate. Bars are best served at room temperature (if you can wait that long) so the filling softens. Bars will store for up to 1 week in the fridge or 6 months in the freezer.


